Homemade D&D miniatures
- Date
- 30 December, 2019
- Category
- games
- Tags
- D&D
I used to play D&D with Daniel, an RPG enthusiast who has invested hours upon hours painstakingly painting miniatures to represent not only the party, but any potential individual or creature we might come across. When he moved out of town, cardboard chits just didn’t fill the void of his magical figures. I saw the opportunity to have a bit of fun and seized it. After many cryptic emails to party members asking about their characters’ hair and clothing, and a few weeks of testing various methods, a new brand of miniatures entered our campaign.
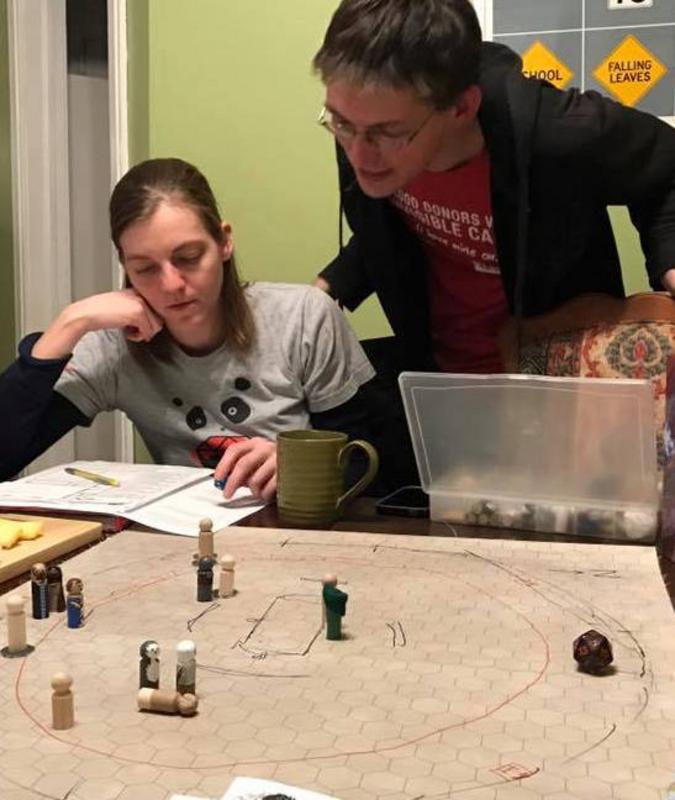
I promised our DM, Wesley, that I would create a tutorial about how I made these little fellas in case anybody wants to try their hand at making similar miniatures.
The Original Party
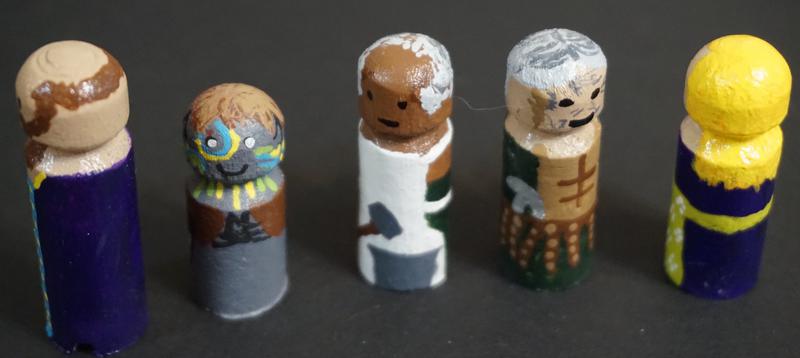
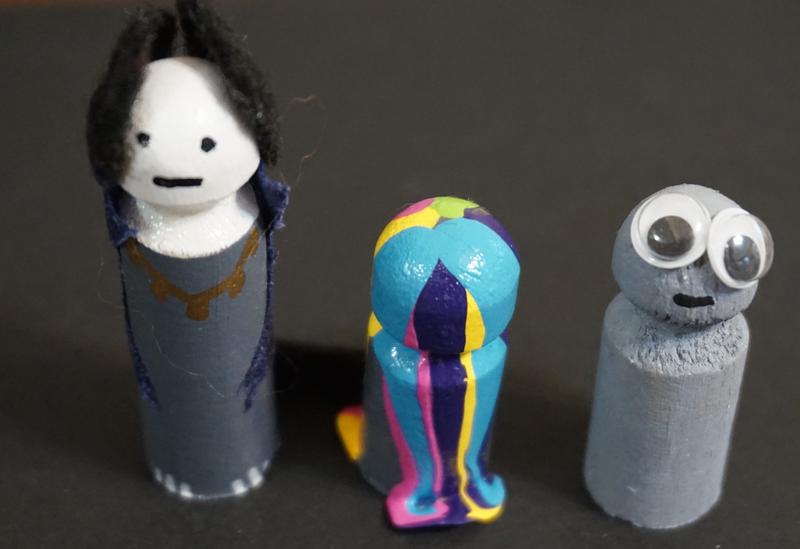
After some amount of experimentation, I ultimately settled on clothespins as the base medium for the minis. What follows were the original brave adventurers who joined us on the dangerous isle of Cetaiaphus. Of their ranks, only Name saw the final adventure through, although Jacobite laid a lot of the groundwork. Not pictured: Gideon the disloyal, Casper the ghost, and Gug the pack lizard.
They are not perfect creations but as stand-ins for the theater of the mind they do a decent enough job. Plus, all your heroes will look cute! Your bad guys will also be very adorable.
Step by Step Mini Creation
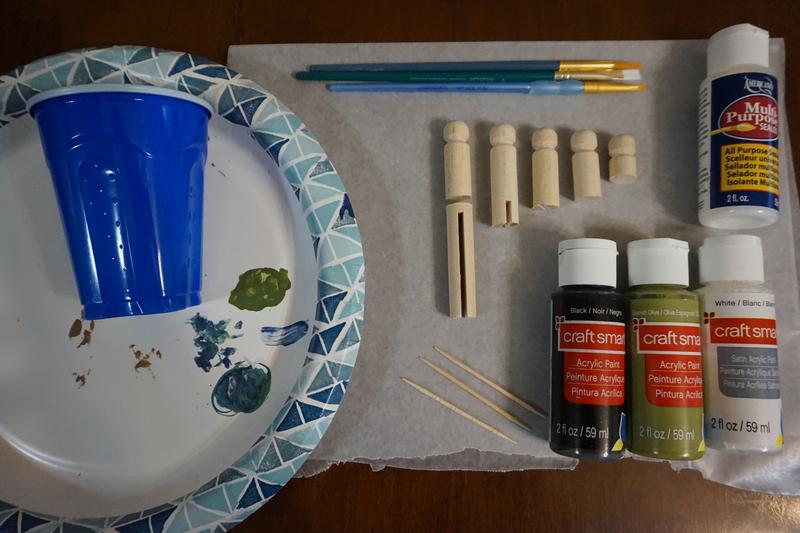
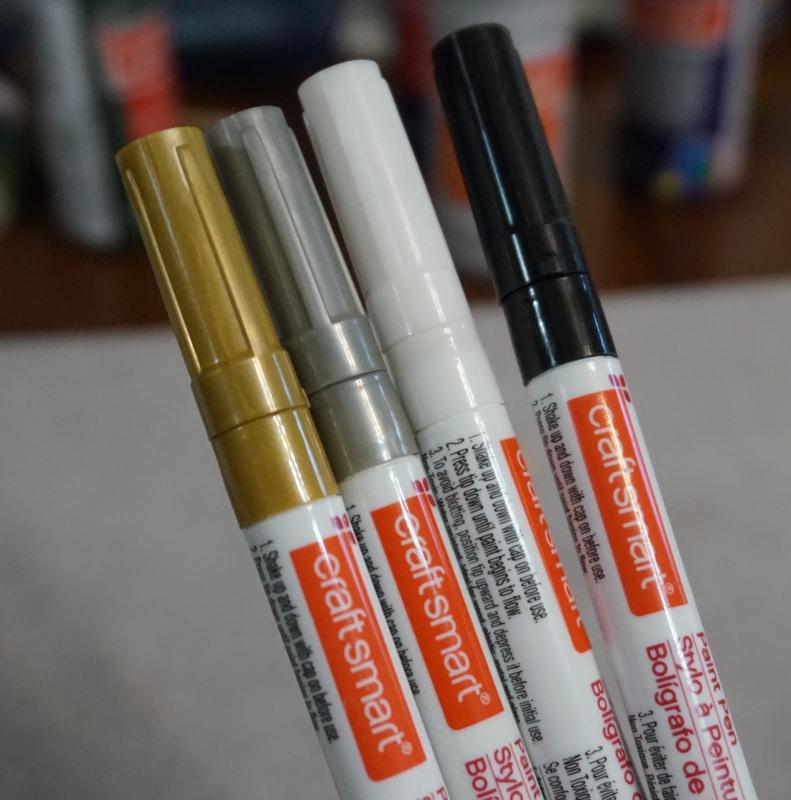
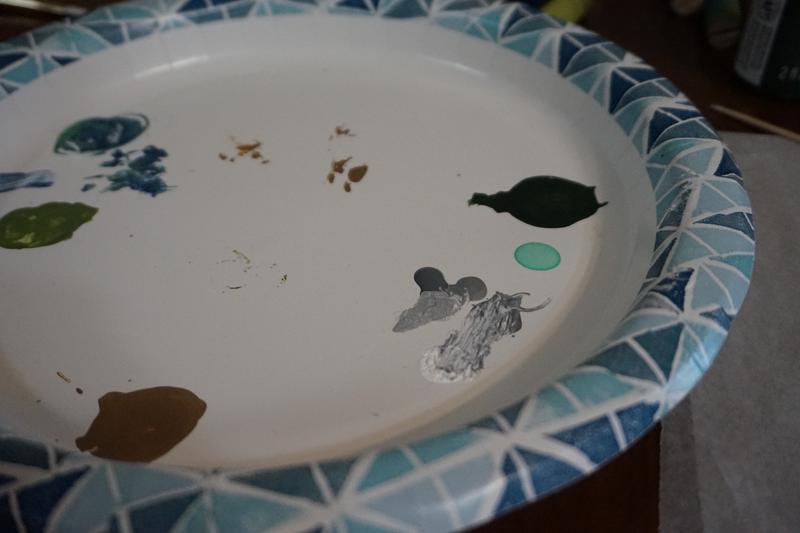
You’re gonna need some basic supplies before you get started. Below is the kit that I use. Despite picturing specific brands, I’m not endorsing a particular type, those just happen to be the cheapest option at the craft store I visited.
- Paper plate / cup for mixing and washing out paint
- Basic paintbrushes (no need for fanciness)
- Clothespins minus the pin part, cut to different sizes
- Toothpicks for detail work
- Budget acrylic paint in various colors
- Paint sealer — do not skip this!
The first step is to cut your clothespins. I used a bandsaw, but you could attack the problem in a number of ways, one of which would be to just simply order wooden peg dolls from somewhere online.
Once you’ve got the minis to the size you want, decide what the base color of your mini will be. I typically go with whatever their face / chest are going to be and then add the base clothing color over that.
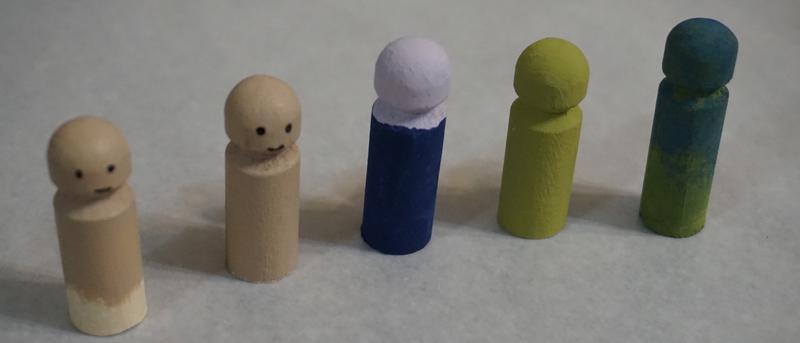
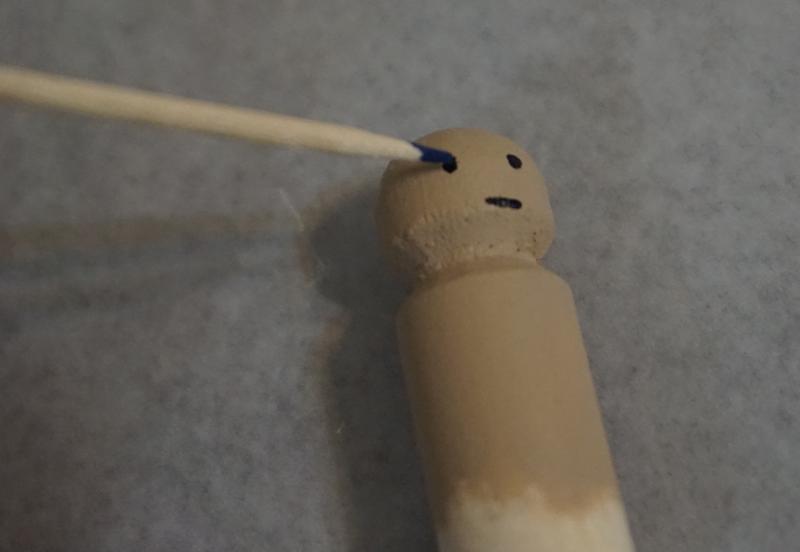
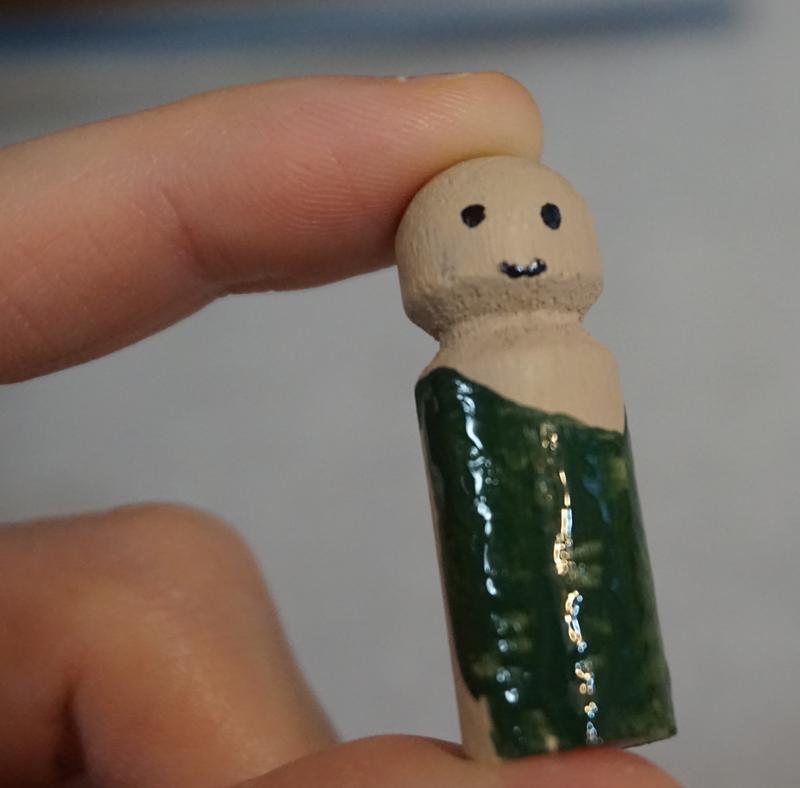
Wait for the base coat to dry. Now you can add the face at this step. I would not recommend adding details (like eyeballs) directly to the wood before there’s a base coat because the paint tends to bleed. I experimented with a few strategies but the one that works the best for me is applying the details with a toothpick.
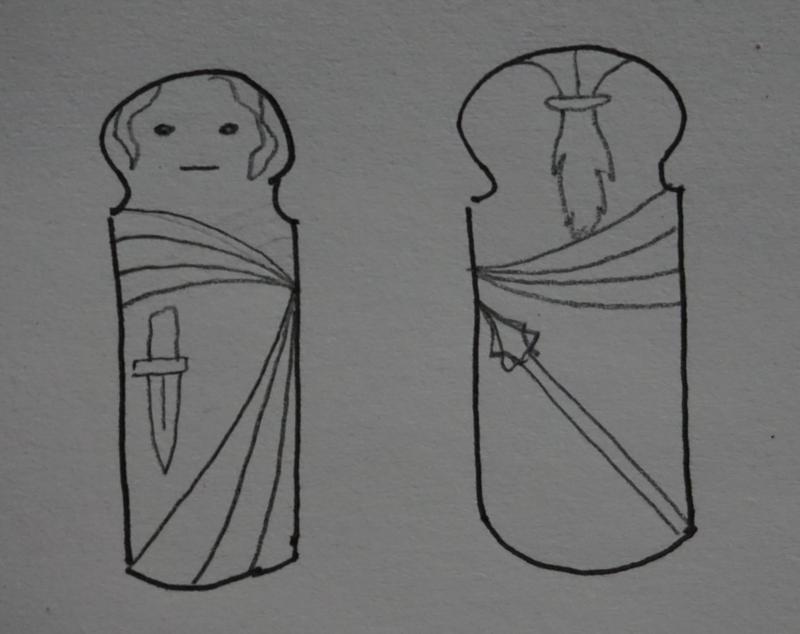
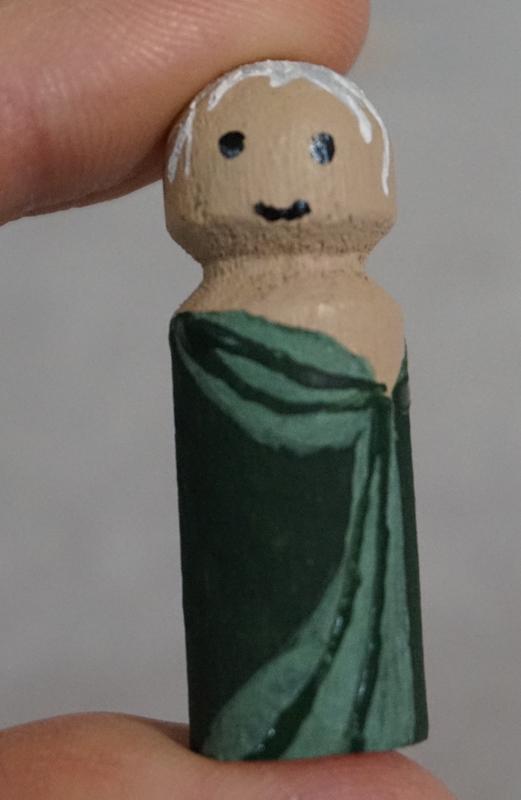
Before you get too far, I recommend trying to sketch out what you want to do. I’ve decided to create some kind of cleric / paladin type character for this example.
Guess our paladin needs some clothes. You may need two or three coats of paint before this layer starts looking solid. Despite the temptation, leave each one alone to dry before you start messing with another layer, or you’ll just smudge the paint around to continually reveal whatever is underneath it. Acrylic dries pretty fast so like, just go make a cup of tea or something, alright?
Once the layers are all done, it’s time to add a little detail work. I’ve tried using marker pens before, but I don’t find them to work as well as the ol’ toothpick and paint method.
First, I tested out a few colors with paint markers and regular paint and ultimately opted for regular paint. Fortunately, most solid colors (things you didn’t mix yourself) can be easily repainted to hide mistakes and tests.
One important note is, if you used paint straight out of a container for a base coat, it’s not hard to paint over mistakes. If you are mixing multiple paints together to make a particular shade, it’s a lot trickier to repaint.
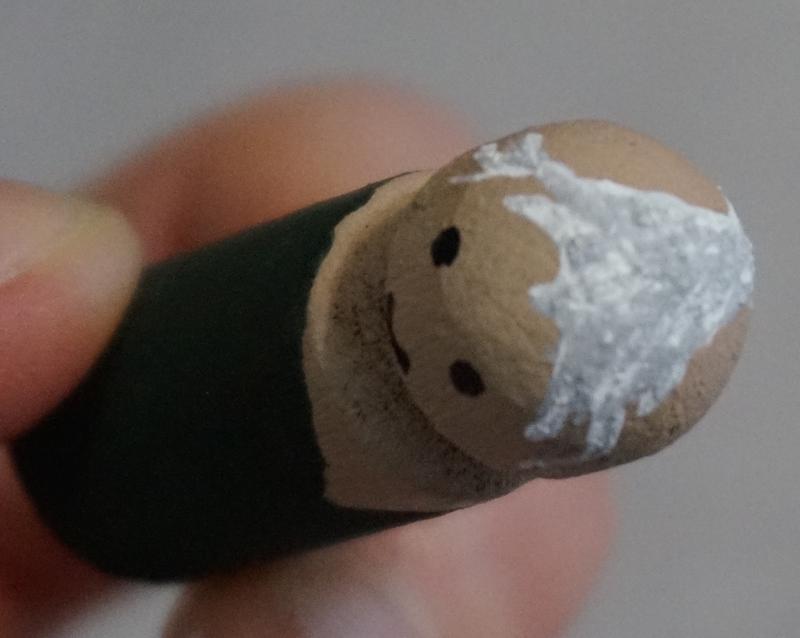
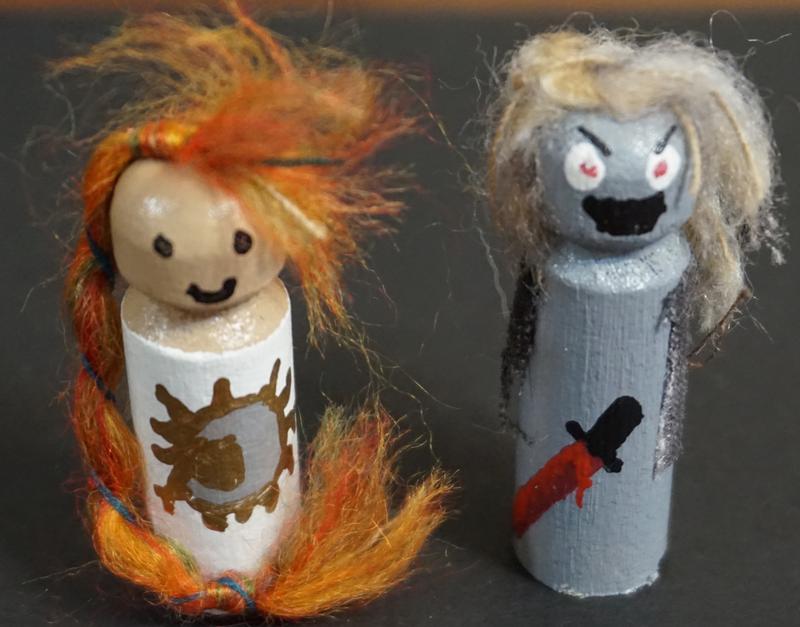
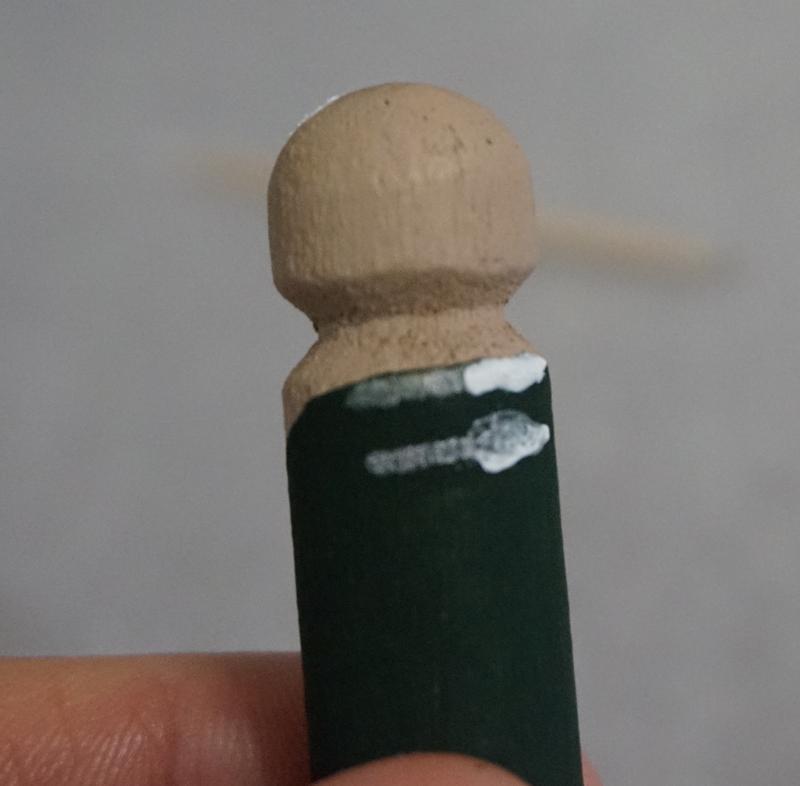
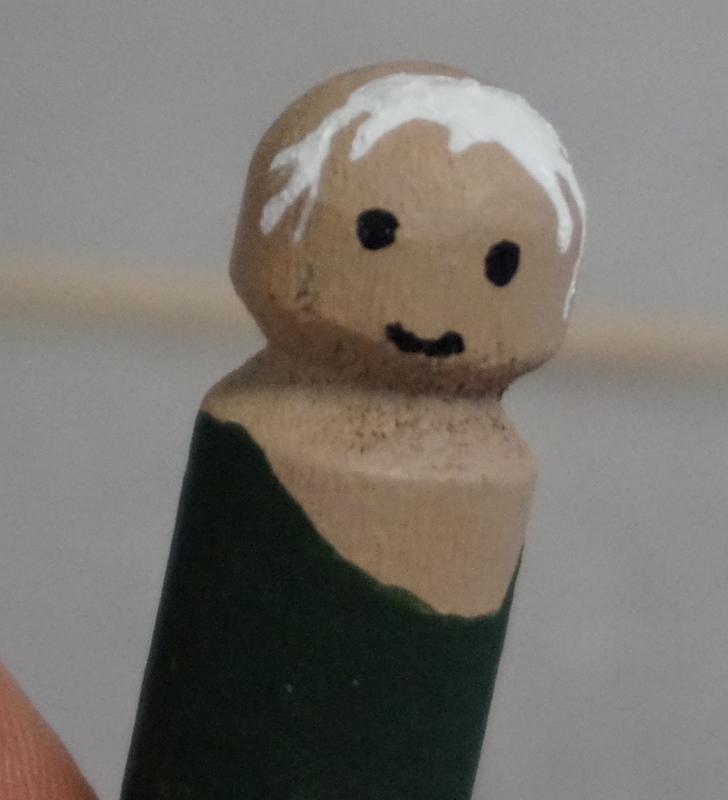
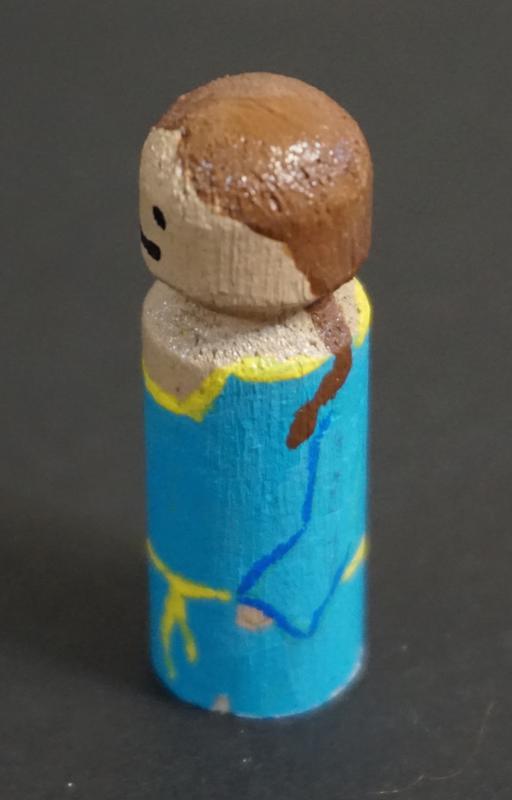
When you are doing hair, it’s worth taking a little time to do multiple passes layering a few colors. The mini above is not an example of some of my best hair, unfortunately.
Time to add some details work. I recommend just going after your mini with a toothpick dipped in a little paint, especially for dots. You can do it for lines as well, but they are never as neat as I want them to be.
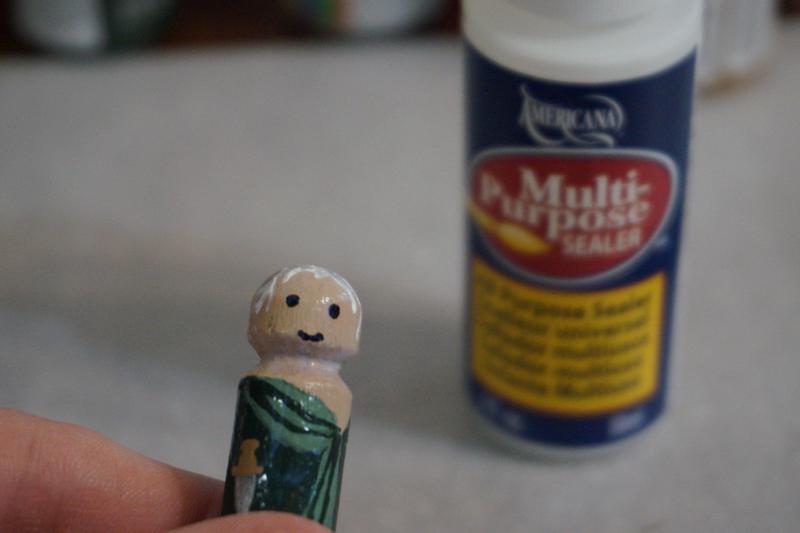
I skipped ahead a little bit here, because I added a tattoo and a knife / short sword without taking any photos of it. After everything is dry, and I mean REALLY dry this time not just dry enough for another coat, you can add the sealer. I’ve tried skipping sealer before but your minis will be rough to the touch and the paint can rub off. The sealer doesn’t take long to apply at all and it helps your minis survive their rough and tumble life as adventurers.
It goes on white-ish but don’t worry, it dries clear. I’ve never had a problem with it. You can get shiny or matte varieties, but I find I prefer the shiny type.
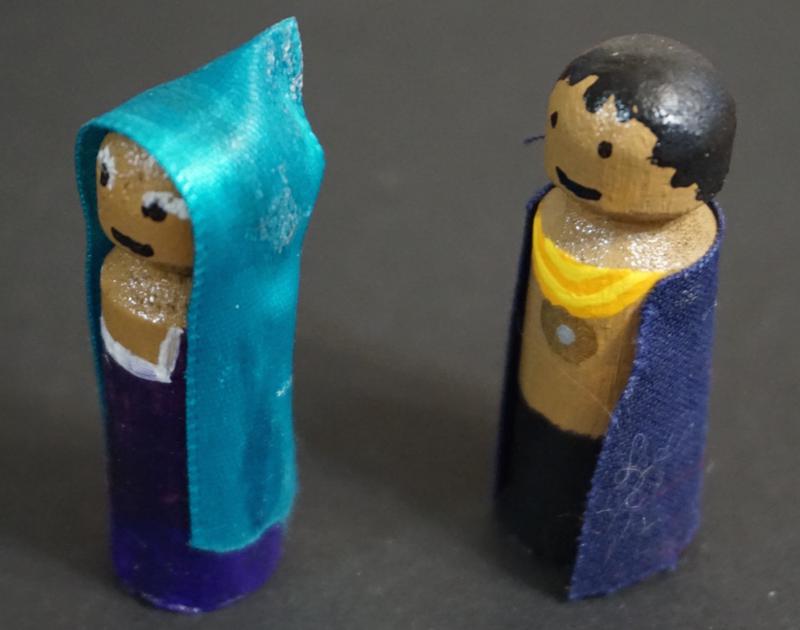
At this point, your miniature is ready for anything — whether that be a campaign or a layer of clothes. If you are adding yarn, cloth, sequins, twine, etc, I do it after the sealer is applied. I have typically used super glue, but be careful lest you become affixed to your miniature. I’ve also found that some materials handle super gluing better than others. For example, the gluing did not go well with ribbon for this poor woman’s hat.
The very first miniature I made, I thought that I needed to make arms. I ultimately have decided that the arms looked dippy and I’d rather just have floating spears and shields without any arms. You might decide you’d rather go a different direction, and that’s fine, but here’s an example of my first and only arms.
Gallery of Creations
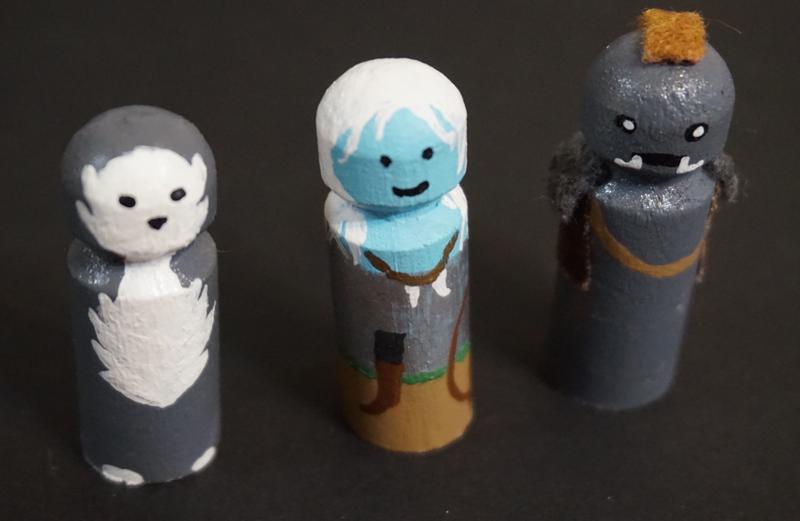
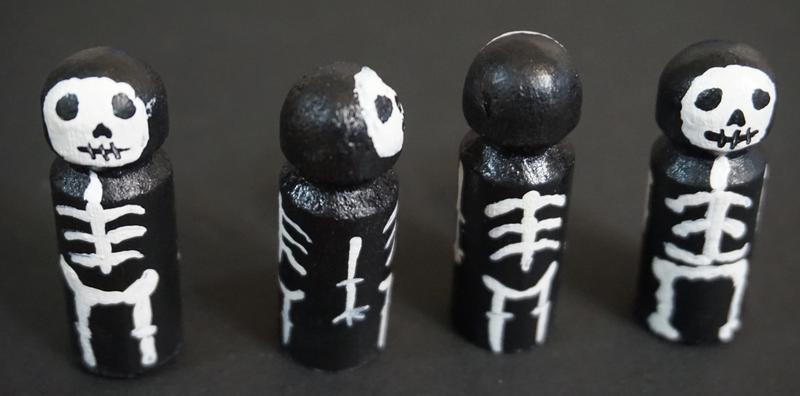
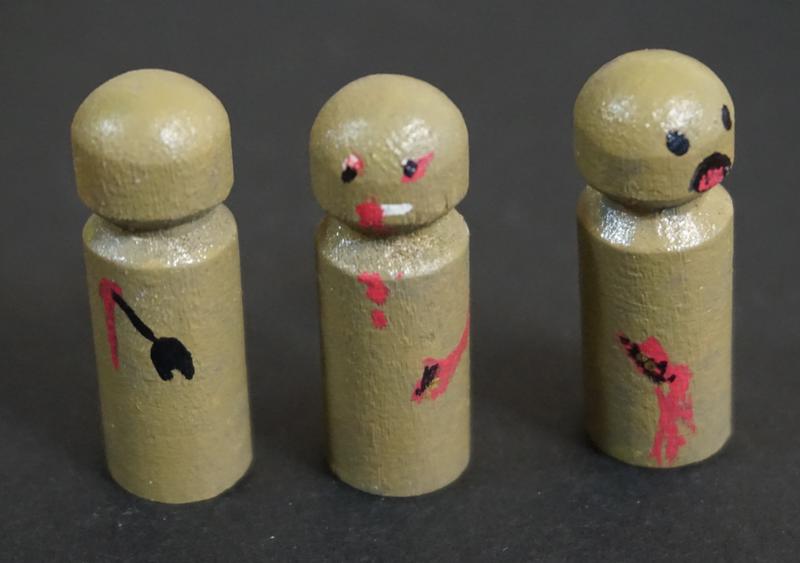
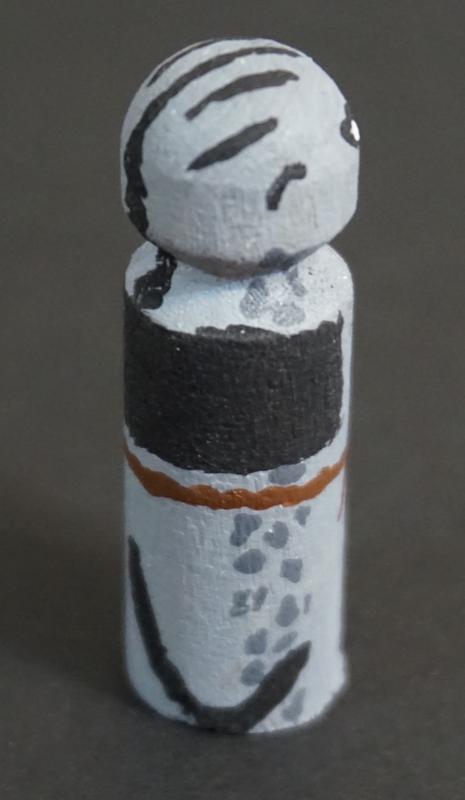
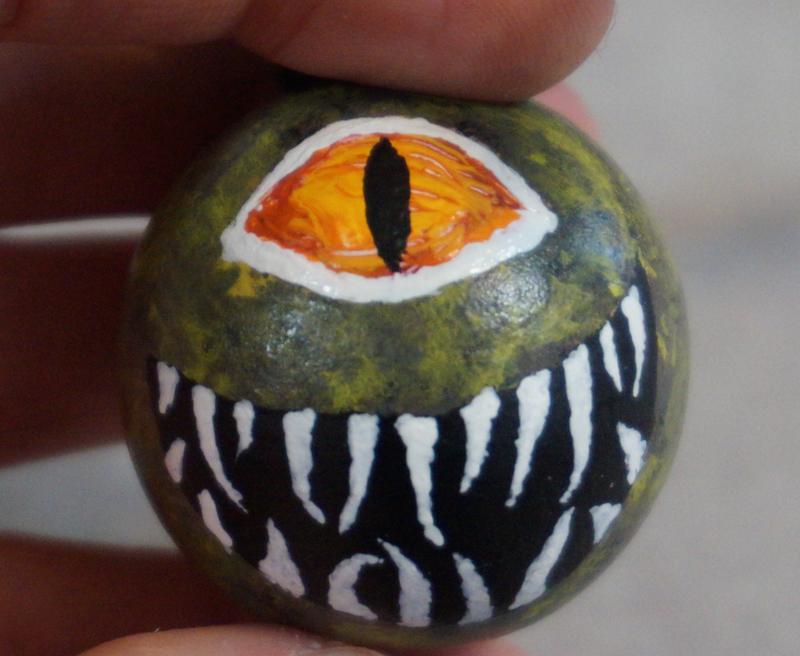
In case you need any inspiration, here are a variety of the characters that we’ve met in our journeys. First up, a couple baddies. The biggest baddies are lurking towards the end like a boss fight in your blogpost.
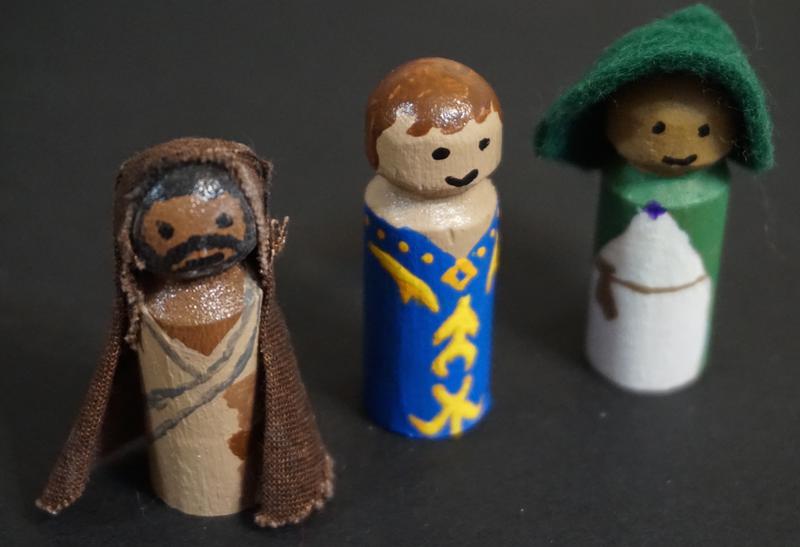
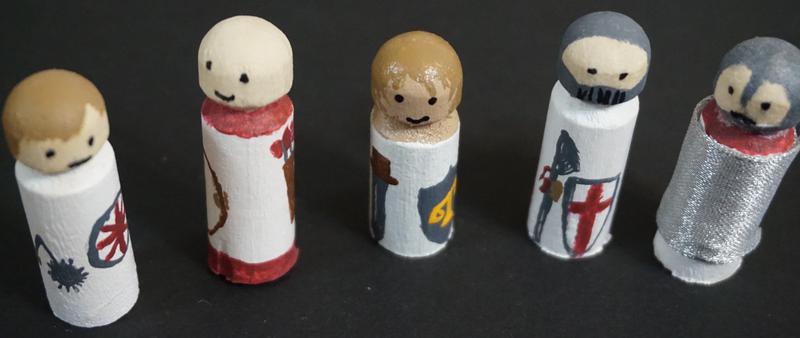
Some characters could be bad or good, but our paths crossed with all sorts of groups. Note, some of the soldiers’ faces are when I learned a lesson about putting detailed paint on bare wood.
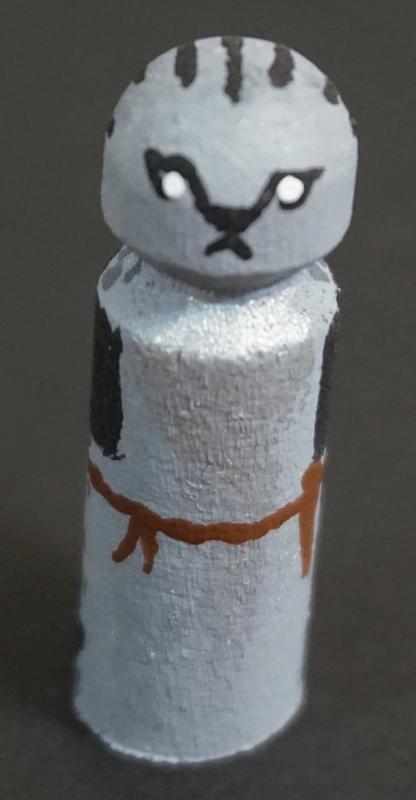
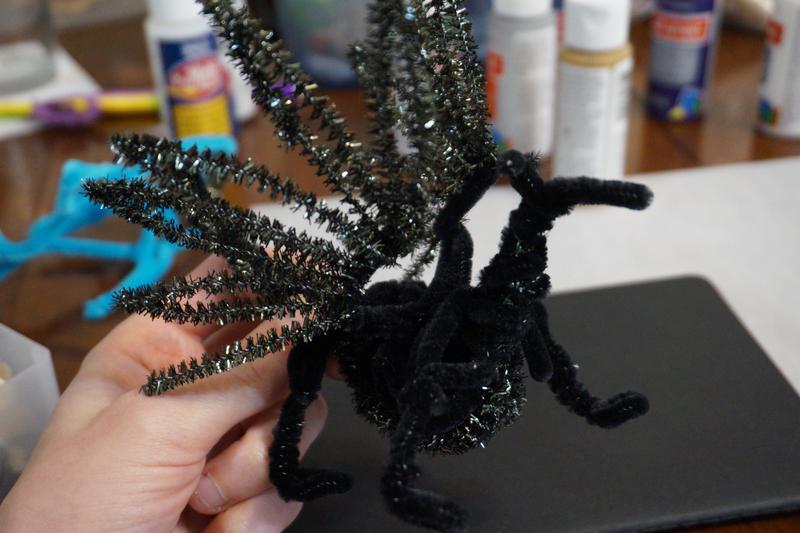
So far, I have never yet needed this miniature in a campaign but I. CAN’T. WAIT.
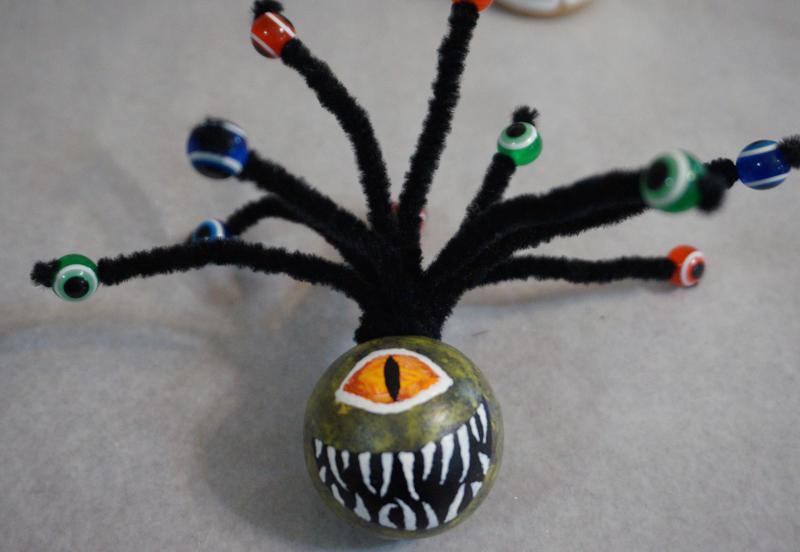
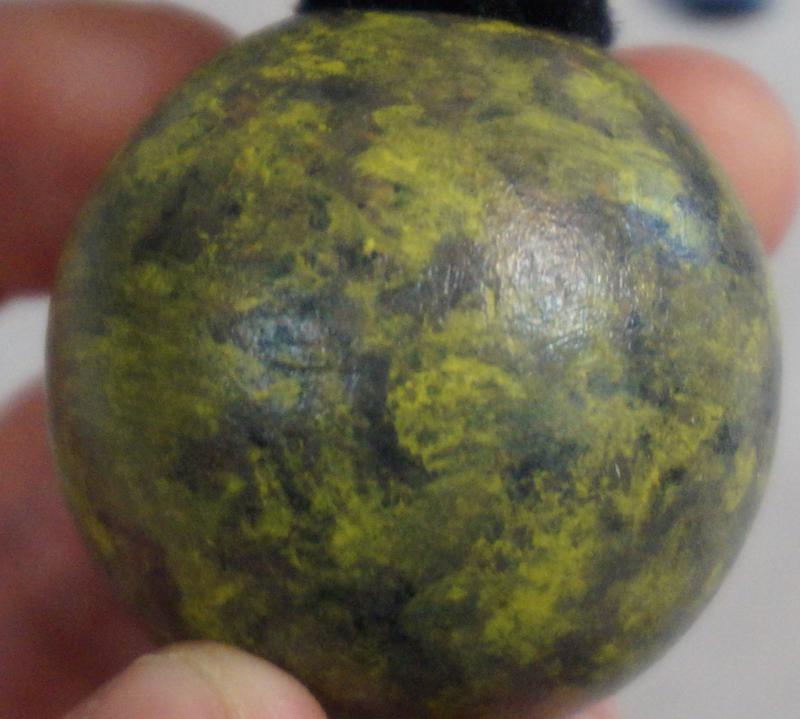
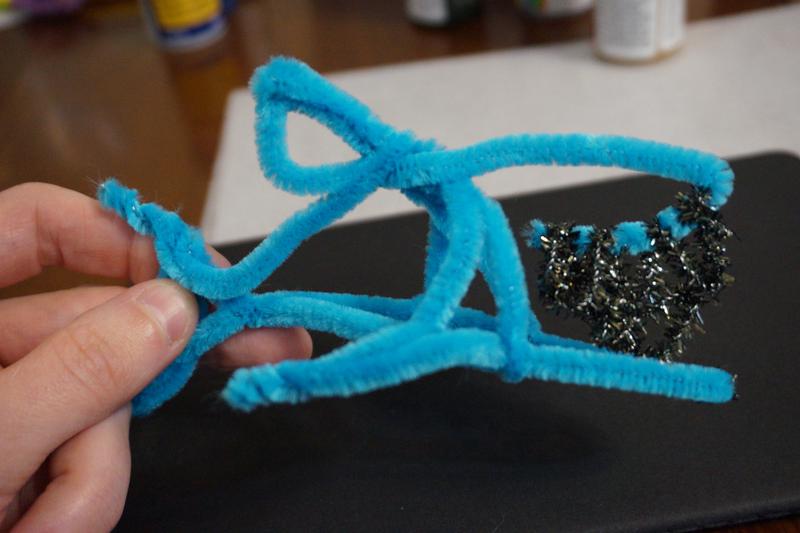
Sometimes, you need something of a slightly grander scale. Then it’s time to get out the pipecleaners.
Storage and More
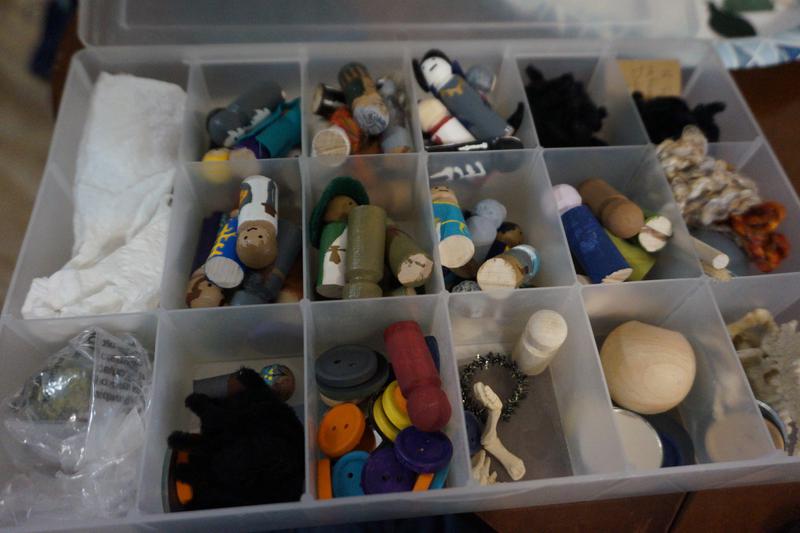
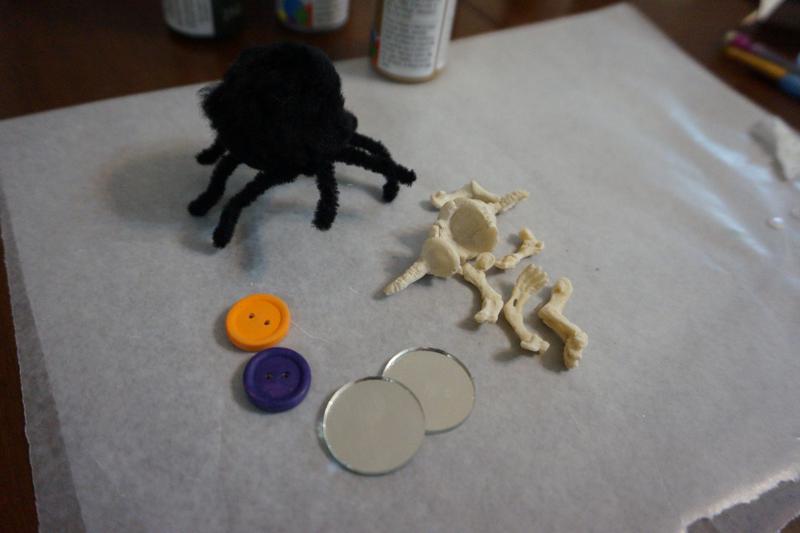
With the exception of Crynaxus and Sharky, all of my miniatures and their accoutrements fit into a case I picked up at the craft store which was intended for beads / jewelry pieces. I have ended up with other pieces besides the miniatures riding around in it, like a giant cotton ball spider, bones that I got from a “dig your own giant sloth” paleontology kit, and lots of mirrors and colorful buttons that can be used to mark status (poisoned, asleep, etc).
I hope that this post is inspirational for any of you sitting at home who have been looking for a strange and niche hobby! Best of luck with your inevitably cute creations.